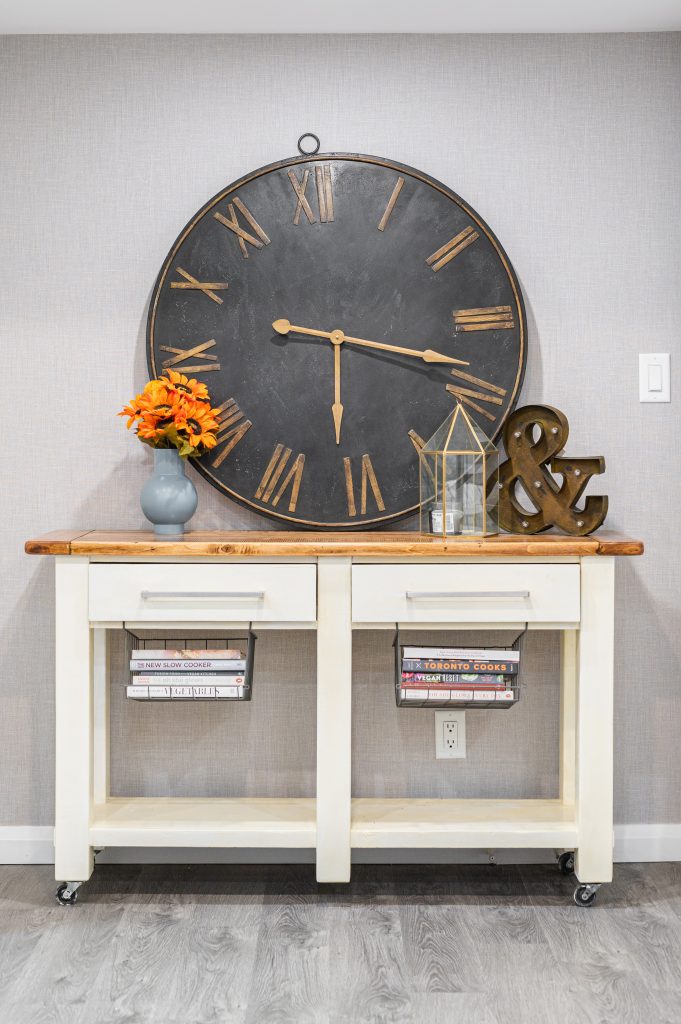
This kitchen cart restore is one of our favourite restoration projects because it is such a transformation! Considering people flip houses to find value in their homes, it’s only fair to do the same thing with furniture!
We HAD to restore this kitchen cart and turn it into something special! With a little elbow grease, some new hardware and the will to succeed, we found this piece’s true potential!
Check out the transformation video below!
aND Scroll down below to see the process. We will provide you the tips and process to successfully achieve your own furniture restore!
The process initially started when I found this doozy on Facebook Marketplace. After communicating with the seller (and bargaining!), we managed to purchase the side table for a whopping $45.00.
KEY NOTE: FACEBOOK MARKETPLACE IS A GREAT PLACE TO FIND OLD, USED FURNITURE. noT TO MENTION, AT A DISCOUNTED PRICE!
First, we stripped the old stain off with paint stripper courtesy of the Home Depot. As we removed the stain, we revealed a ton of scratches in the base. Not to mention, some dents needed to be filled. Our original intent was to keep the base in its original wood grain and paint the top white.
Key note: Numerous flaws in the base are a serious consideration in restoration work, as you do not want to enhance those flaws.
Therefore, after some serious consideration, we decided to reverse it. We decided our best bet was hiding the flaws in the base and enhancing the woodwork on top! Once we stripped the piece, we painted the base using a Furniture Transformations Kit from Home Depot. We stained the top with Varathane’s Dark Walnut Wood Stain and what a difference it made!We also added castors from Habitat Restore Canada (at a discount!).
Finally, we installed drawer hardware from Home Depot and some magical hanging shelf racks from Ikea, and voilà! A stunning kitchen cart that could easily retail in stores for above asking of the original price.
Check out the finished piece below!


